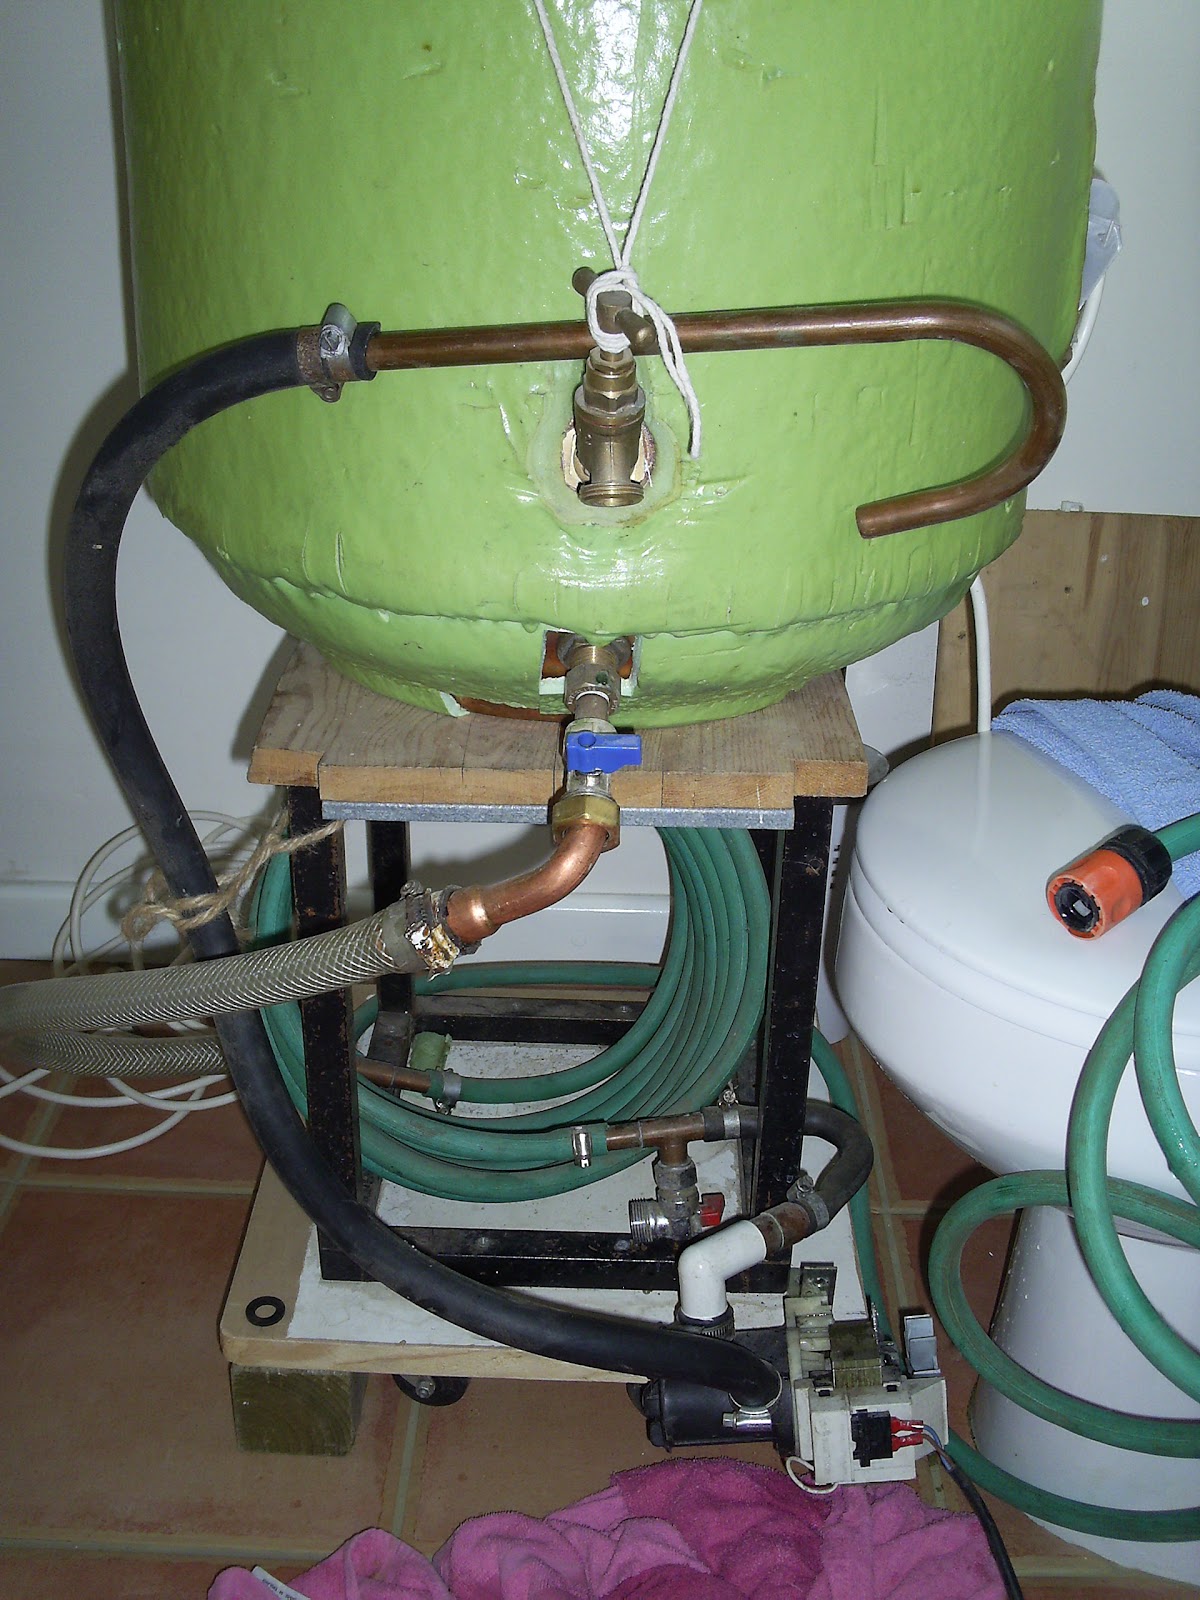
Back in July 2006 I built a counter-flow chiller using 1/2" hosepipe and 8m of 8mm copper pipe giving an area of ~0.2m2. Gravity feed wort, and a washing machine pump to pull the cooled wort into the barrels. This sat under the stand which held a modified 115L direct copper cylinder. It worked well from what I remember and I think it used less water compared to the immersion chiller. I didn't really have much choice as I was trying to cool 85L of wart. I sold the lot in 2009. No notes, just a photo below.
I'd been thinking about a plate chiller as Vivor has a 40 plate at ~53€. More reading suggests they are a pain to clean well and block fairly readily. About 1m2 area.
Roll on 18 years to April 2024 and I'm rummaging in the garage. I see 7.6m of 22mm polyplumb pipe I'd removed from the house last year and 2 x 4m coils of 12.7mm OD ac pipe I'd been given. A few hours later my brain says counter-flow chiller. Approx 0.32m2
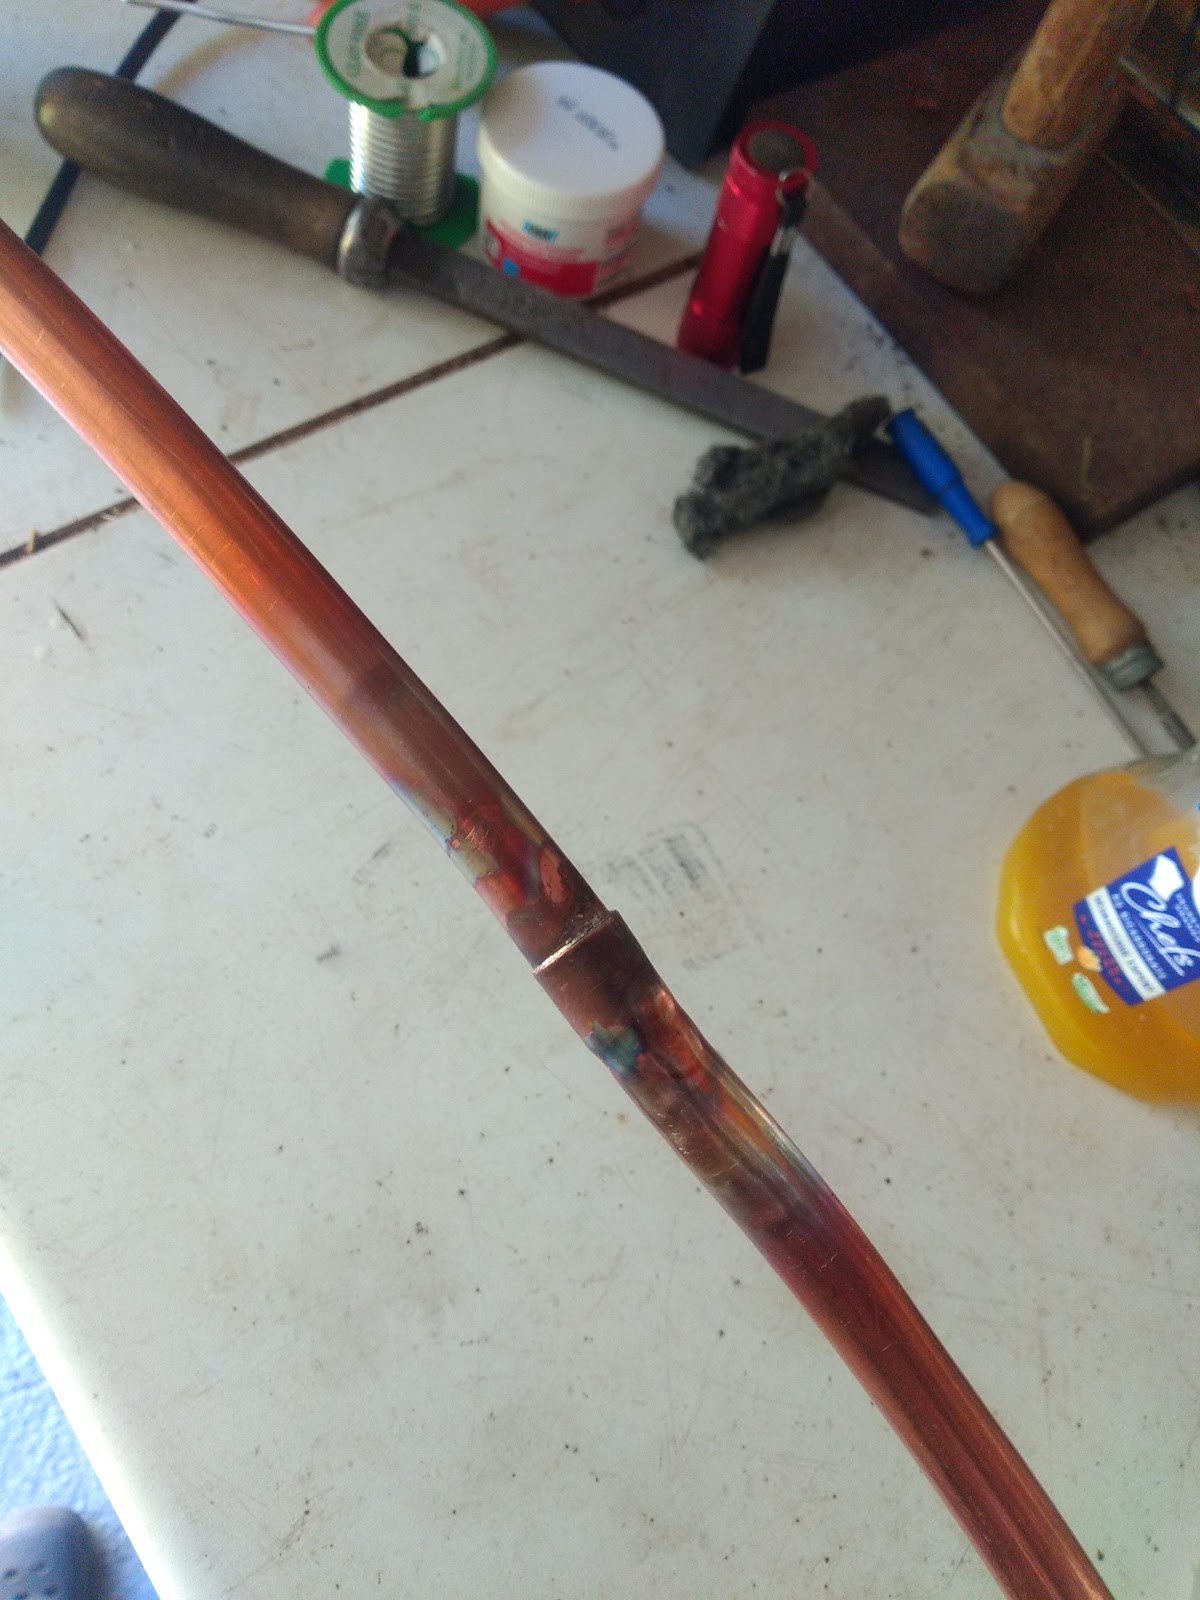
Twisted approx 14m of 1.5mm copper wire (od ~1mm) onto the pipe and soldered every 2m to create turbulent flow. Must break up laminar flow for best cooling. Didn't pass through the polypipe insert at the copper joint (flared out pipe). Cut and re-soldered wire. Pipe inserts restrict CW flow. Cant increase opening. Used plenty of cable lubricant. Lead free solder and new flux for the join. The rest was lead solder which is lower temperature and better flow for non-standard work. Wet rags kept the heat off the plastic.
The wort outlet at the bottom is a 22mm right angle compression to 3/4" BSP with a 12.7mm hole drilled to allow the wort pipe to pass through, then soldered. After being coiled up at a diameter of 502mm (to make it fit with both inlet and outlet at the right place) it largely self held, but it's pinned into a frame. Then a 22x22x15 compression was put on the other end (the wort inlet). It would have been a equal T if I'd had one that also had a 3/4" thread. A 22x15 reducer was soldered into place to terminate wort pipe. A old piece of 1/2" copper provided the reduction from 15mm to 13mm. 1/2 to 3/4" fitting gave a water connector. The wort inlet slipped nicely onto some silicon tube that goes to the boiler. The wort inlet had another piece of 15mm reducer and a 1/2" BSP female for the connection to the pump.
3/4 BSP fittings are for the cooling water. All tested to 2.5 bar. The polypipe has a min radius of 8x22mm = 176mm. Settled for 250mm as it is tricky stuff to handle. The copper was soft annealed and was already in a 400mm diameter coil. The polypipe is good for occasional 100C.
Have now tested both circuits with pumps. The output of wort circuit needed to be higher than the pump inlet as it's not self priming and not particularly good at sucking. A few blocks sorted that. I also added a top the same as the base (old cable drum) as this gives me somewhere to stand the sparge water heater which also needs to be above the wort pump inlet.
While watching another hobby brewer I saw that he'd connected his counter-flow chiller to the top outlet pipe. I've tried this and it is better for several reasons. Primarily, the pump inlet is connected direct to the boiler, so no dry running and it can re-circ to begin with. Secondly I can regulate the chiller flow by opening the re-circ line, and then close the top tap a bit if needed. Flow is 4L/min just at the top, which drops to 3L/min with the re-circ open. Down to 0.8L/min with the top tap 1/2 open.
The cooling circuit being fed via an old shower pump from the water easily managed to lift the water 1.5m back to the butt at about 6L/min. I've read that the wort rate needs to be half the cooling, so 3L/min will cool the 40L of wort in 40/3 mins = 13 mins. Happy with that, but I suspect the flow from the wort pump is much less.
3/5/24 A live test. 20L of wort in about 15 mins, using 40L of mains water. Over cooled at times, but settled down with a few tweaks. Outlet water was warm - say 45C. CFC used on pump outlet which was throttled back a bit to save cooling water.
Roll the chiller to empty out the water when done.
 |
| Pressure test of the finished coil |
 |
| Warming polypipe in the sun |
 |
| Joint at 4m |
 |
| wrap of copper wire ~100mm |
If I do this again I'll probably get 20mm PER which is also rated to 100C. The fittings are either crimp or slide and I'd look for compression onto the copper.
 |
| First attempt at the counter-flow chiller |
Washing machine valve put in right at the bottom of the boiler to get the wort out. CW IN front right, meaning the hot water out is the hose pipe just visible on the right. Crystal/braided hose for the wort in. The copper hook is the wort out to hang on the barrel. The tank is about 47cm diameter, putting the chiller at about 30cm. ID of hosepipe is 12.7mm, so a 10mm copper pipe sounds too big. Assuming 8m of 8mm pipe this gives an area of 0.2m2. A 10mm pipe would give 0.25m2.
Research. Some notes on NAS
NB If using plastic/rubber outer be careful not to block cooling outlet / too high pressure else could rupture.
http://www.theelectricbrewery.com/forum/viewtopic.php?p=327899 some theory
https://www.thegatesofdawn.ca/wordpress/homebrewing/wort_chiller/ tuto
Other chillers
https://fr.aliexpress.com/item/1005002900523594.html Rubber
https://www.kegland.com.au/products/coolossus-passivated-stainless-steel-counter-flow-chiller-heat-exchanger
https://brouwland.com/fr/refroidissement/20087-refroidisseur-a-contre-courant-brew-monk-counterflow-chiller.html
cools 20L to 20C in 5 mins. 9.5m 10mm SS
From a review : wort pipe 10mm od (0.3m2 area) , water pipe 14 id

No comments:
Post a Comment