Monday 29 April 2024

Brauheld pro 45

Sold under a few names in 2024

Klarstein - variable pricing, from 650 to 400€ depending on the offers

https://www.klarstein.fr/Electromenager/Kit-brassage-biere/Brauheld-Pro-45-Kit-de-brassage-de-biere-maison-Cuve-45L-3300W-45-L.html

https://thehomebrewery.eu/equipment/breweries/coobra

https://www.homebrew.no/bryggemaskiner/1872/coobra-cb5-pro-v3-craft-brewer-all-grain-bryggemaskin-50liter

https://www.thehomebrewforum.co.uk/threads/coobra-cb5-45l-all-in-one-brewer.84124/


A slightly different model without the recirc line

https://brewtaurus.com/products/b45l-ss-brewing-system-pro

https://www.bmswijndepot.com/fr/catalogue/Details/4900/easybrew-sb60p-refroidisseur-60l

https://brouwland.com/en/electric-brew-kettles/20634-brew-monk-b40-wifi-brouwketel.html


Agape is the manufacturer.

https://www.youtube.com/watch?v=MlHV91AVzbY&ab_channel=AURONAGAPE


Bought this to replace a 70L stainless pot and 5.5kW gas burner. I will only be able to brew say 40L in the new boiler, but it will be a lot more efficient on electricity and the solar panels will contribute. Also, as it has a pump, I can do everything on the ground which is a big bonus for the back. No moving hot water or wort around in jugs. No wind blowing out the gas, or blow back! Hopefully no burnt beer too, given the enclosed element.

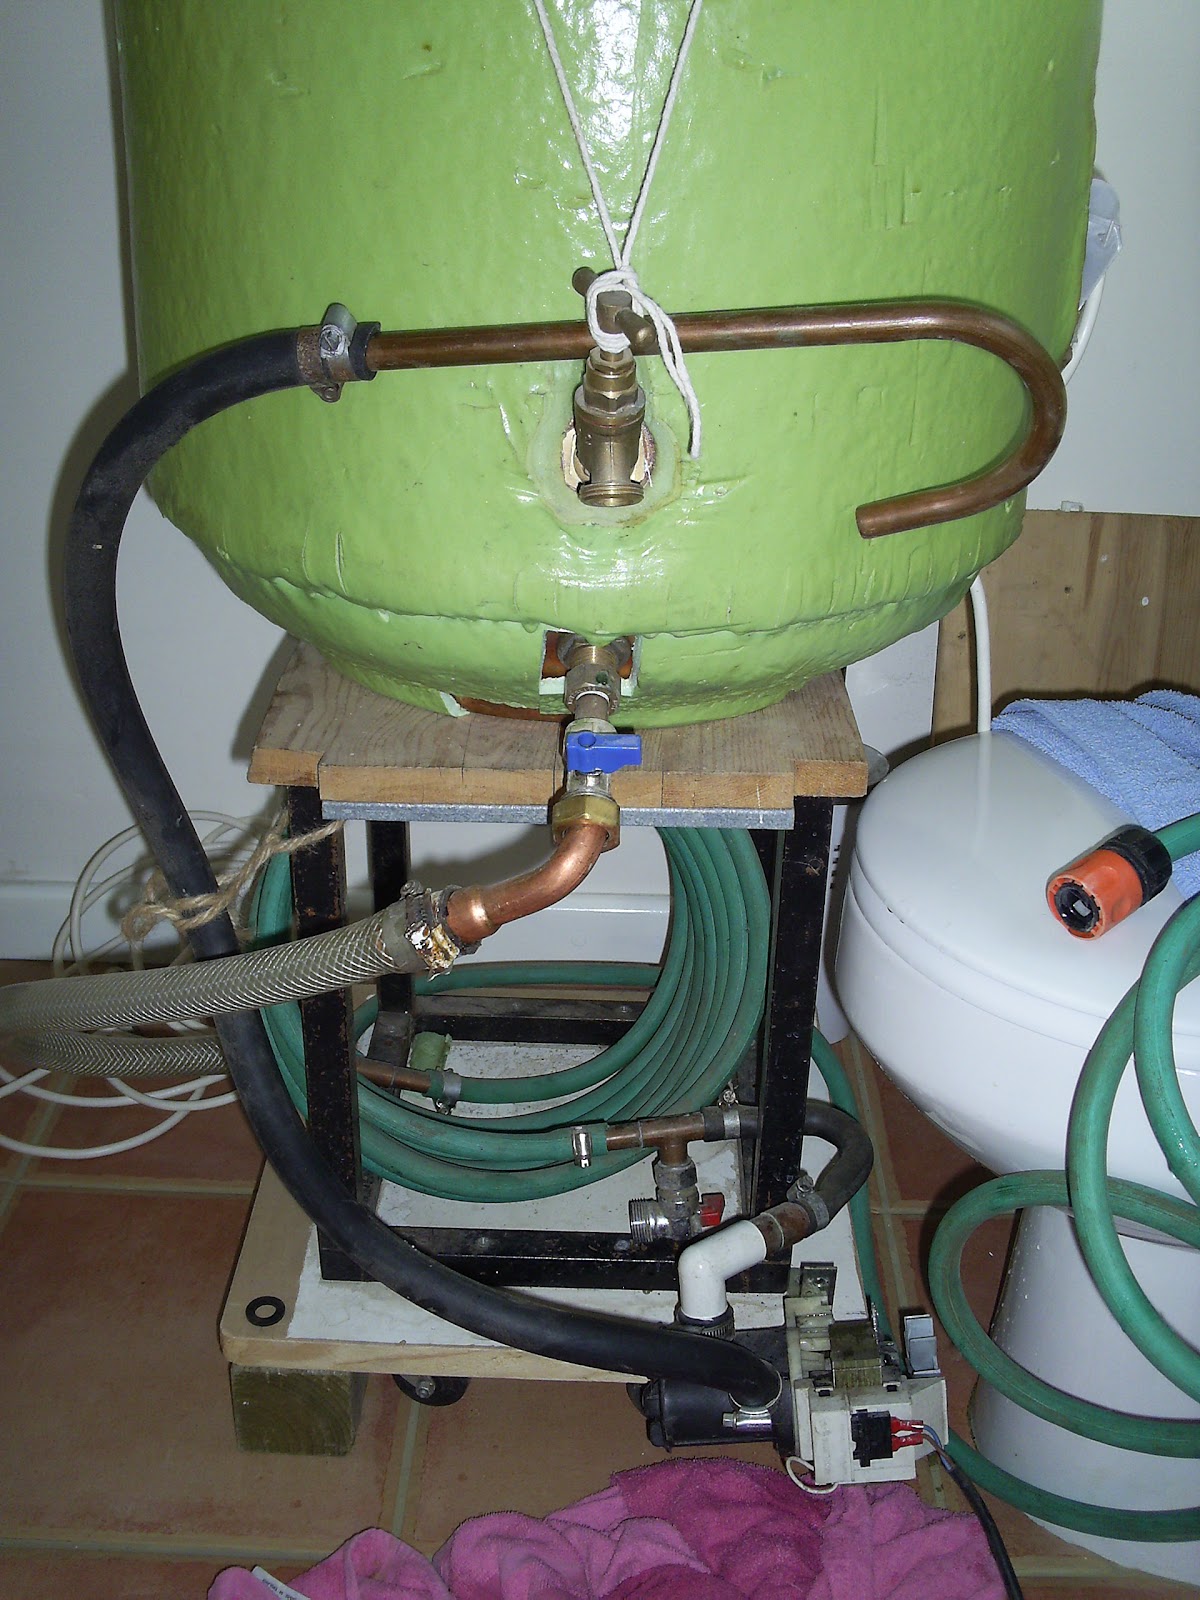
I've also made a counter-flow chiller so hopefully this will reduce brew times. I intend to use an old shower pump to borrow cooling water from the 1000L water butts, although some water will be fresh and kept for subsequent cleaning. See the dedicated post on that.

The tap is 3/4" to 1/2" quick disconnect male (QD) Readily available at Braumarkt, brauwland or Aliexpress.

PUMP FLOW RATES

Max water flow at top outlet is 5.6L/min which drops to 3.5L/min if bottom re-circ is fully open. 

Once the counter-fllow chiller is connected at the top, the water flow at top outlet is 4L/min which drops to 3L/min if bottom re-circ is fully open.  If the top tap is then 1/2 shut flow becomes 0.8L/min

Mods.

Using 10mm AC pipe insulation wrapped around. About 15m. Brewing jackets for the other brands above exist at 5mm thick for 30€ + delivery. I had the insulation lying around.

Extra silicon hose to extend the pump output to the top the grain bin during sparge. This is only needed if you don't want to batch sparge (not recommended)

Converted my old 50L fermenter to a sparge water heater. 2kW/220V heater and on/off heat controller STC-1000. A bit OTT, but I lose track of stuff being heated. The 2kW heater takes 2360W/9.84A at 240V which is still within spec for the controller 10A relay.

A hop spider. Pricey, but the muslin bags are a pain, particularly to clean.


Trail camera

A few years ago we bought a trail camera to leave around the garden. It has a movement detector and worked pretty well. It takes 4 or 8 batteries and 4 decent alkalines last a few days. I quickly made an adapter for a 12V SLA battery, as it has a 6V external input but this was pretty inconvenient. The battery died, so I thought I'd check the power consumption.

20mA is taken, even in the off position, which is about 0.5Ah/day.

200mA whilst taking a photo 

Assuming 30s of photos/video, 10 times/hr = 300s x 24h = 7500s = 2hr x 0.2A = 0.4Ah.

Say 1Ah/day in total

By removing the 4/8 battery divider and some of the battery supports I found space to fit 2 lion batteries in series, a regulator set at 5.8V for the camera, and a charger, set to 0.75A. The charger needs to be > 9.5V in.

I felt this approach was better than 2 batteries in parallel and a step up as this is less efficient.

As 18650 batteries top out at 3.6Ah, even if you can buy 8Ah ones from some places, I picked some at 2.9Ah as they're half the price of 3.6Ah ones and only extend the camera life 12 hours or so. 

Using 2 x BAK N18650CL-29 should give nearly 3 days. Charge time from empty of about 4 hours. Battery protection with a small 2s pcb. Some notes as specs in the electronics folder.

It's a bit tight on the height, but it closes.

Original

At the top CC/CV charger, middle buck converter
2 batteries with the 2S protection pcb
2.1mm power connector


Tuesday 23 April 2024

Counter-flow chiller

Back in July 2006 I built a counter-flow chiller using 1/2" hosepipe and 8m of 8mm copper pipe giving an area of ~0.2m2. Gravity feed wort, and a washing machine pump to pull the cooled wort into the barrels. This sat under the stand which held a modified 115L direct copper cylinder. It worked well from what I remember and I think it used less water compared to the immersion chiller.  I didn't really have much choice as I was trying to cool 85L of wart. I sold the lot in 2009. No notes, just a photo below.

I'd been thinking about a plate chiller as Vivor has a 40 plate at ~53€. More reading suggests they are a pain to clean well and block fairly readily. About 1m2 area.

Roll on 18 years to April 2024 and I'm rummaging in the garage. I see 7.6m of 22mm polyplumb pipe I'd removed from the house last year and 2 x 4m coils of 12.7mm OD ac pipe I'd been given. A few hours later my brain says counter-flow chiller. Approx 0.32m2

Twisted approx 14m of 1.5mm copper wire (od ~1mm) onto the pipe and soldered every 2m to create turbulent flow. Must break up laminar flow for best cooling. Didn't pass through the polypipe insert at the copper joint (flared out pipe). Cut and re-soldered wire. Pipe inserts restrict CW flow. Cant increase opening. Used plenty of cable lubricant. Lead free solder and new flux for the join. The rest was lead solder which is lower temperature and better flow for non-standard work. Wet rags kept the heat off the plastic. 

The wort outlet at the bottom is a 22mm right angle compression to 3/4" BSP with a 12.7mm hole drilled to allow the wort pipe to pass through, then soldered. After being coiled up at a diameter of 502mm (to make it fit with both inlet and outlet at the right place) it largely self held, but it's pinned into a frame. Then a 22x22x15 compression was put on the other end (the wort inlet). It would have been a equal T if I'd had one that also had a 3/4" thread. A 22x15 reducer was soldered into place to terminate wort pipe. A old piece of 1/2" copper provided the reduction from 15mm to 13mm. 1/2 to 3/4" fitting gave a water connector. The wort inlet slipped nicely onto some silicon tube that goes to the boiler. The wort inlet had another piece of 15mm reducer and a 1/2" BSP female for the connection to the pump.

3/4 BSP fittings are for the cooling water. All tested to 2.5 bar. The polypipe has a min radius of 8x22mm = 176mm. Settled for 250mm as it is tricky stuff to handle. The copper was soft annealed and was already in a 400mm diameter coil. The polypipe is good for occasional 100C.

Have now tested both circuits with pumps. The output of wort circuit needed to be higher than the pump inlet as it's not self priming and not particularly good at sucking. A few blocks sorted that. I also added a top the same as the base (old cable drum) as this gives me somewhere to stand the sparge water heater which also needs to be above the wort pump inlet. 

While watching another hobby brewer I saw that he'd connected his counter-flow chiller to the top outlet pipe. I've tried this and it is better for several reasons. Primarily, the pump inlet is connected direct to the boiler, so no dry running and it can re-circ to begin with. Secondly I can regulate the chiller flow by opening the re-circ line, and then close the top tap a bit if needed. Flow is 4L/min just at the top, which drops to 3L/min with the re-circ open. Down to 0.8L/min with the top tap 1/2 open.

The cooling circuit being fed via an old shower pump from the water easily managed to lift the water 1.5m back to the butt at about 6L/min. I've read that the wort rate needs to be half the cooling, so 3L/min will cool the 40L of wort in 40/3 mins = 13 mins. Happy with that, but I suspect the flow from the wort pump is much less.

Pressure test of the finished coil

Warming polypipe in the sun

Joint at 4m

wrap of copper wire ~100mm

If I do this again I'll probably get 20mm PER which is also rated to 100C. The fittings are either crimp or slide and I'd look for compression onto the copper.

Back to 2006

First attempt at the counter-flow chiller

Washing machine valve put in right at the bottom. CW in front right, meaning the hot water out is the hose pipe just visible on the right. Crystal/braided hose for the wort in. The copper hook is the wort out to hang on the barrel. The tank is about 47cm diameter, putting the chiller at about 30cm. ID of hosepipe is 12.7mm, so a 10mm copper pipe sounds too big. Assuming 8m of 8mm pipe this gives an area of 0.2m2. A 10mm pipe would give 0.25m2.


Research. Some notes on NAS

NB If using plastic/rubber outer be careful not to block cooling outlet / too high pressure else could rupture.

http://www.theelectricbrewery.com/forum/viewtopic.php?p=327899 some theory

https://www.thegatesofdawn.ca/wordpress/homebrewing/wort_chiller/ tuto

Other chillers

https://fr.aliexpress.com/item/1005002900523594.html Rubber

https://www.kegland.com.au/products/coolossus-passivated-stainless-steel-counter-flow-chiller-heat-exchanger

https://brouwland.com/fr/refroidissement/20087-refroidisseur-a-contre-courant-brew-monk-counterflow-chiller.html

cools 20L to 20C in 5 mins. 9.5m 10mm SS 

From a review : wort pipe 10mm od (0.3m2 area) , water pipe 14 id